
If you sell/buy/use Cisco products, and you want to practice configuring them, then Cisco’s dcloud is a great resource. And they have just added another ACI lab: Cisco Application Centric Infrastructure with shared Physical Fabric.
If you already know about dcloud, then go ahead, check out the new lab. But if you are new to dcloud, then this tutorial will get you going. You will need a cisco.com login before proceeding. If you don’t have one, you can register here.
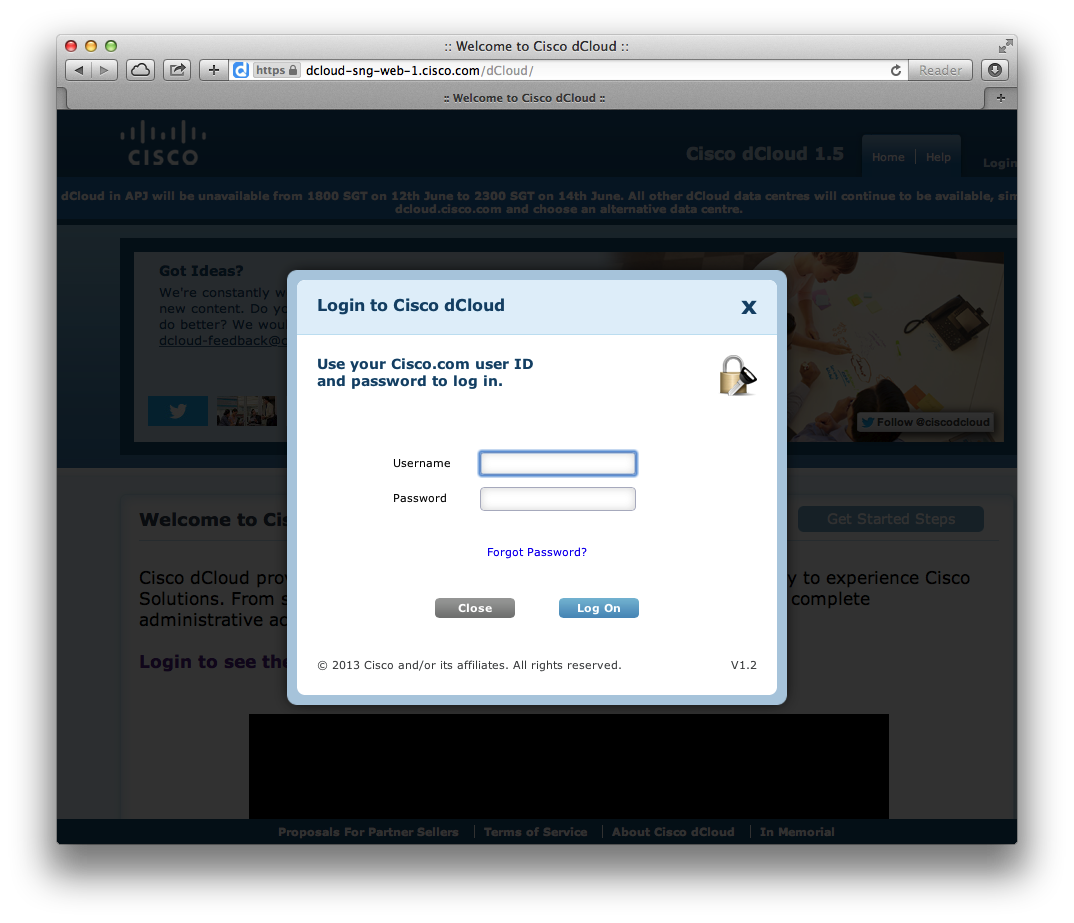
Start ny accessing dcloud at https://dcloud.cisco.com

The first time you access the site for a given browser, you will have to choose your location, and of course log onto the site using your cisco.com logon details (available to anyone who signs up).
TIP: |
Don’t use Internet Explorer for this lab if you want to access the remote desktop PC in full screen mode. |
…and of course you’ll have to accept the Cisco dcloud User Agreement and fill out some Profile details if this is the first time for a particular theatre.
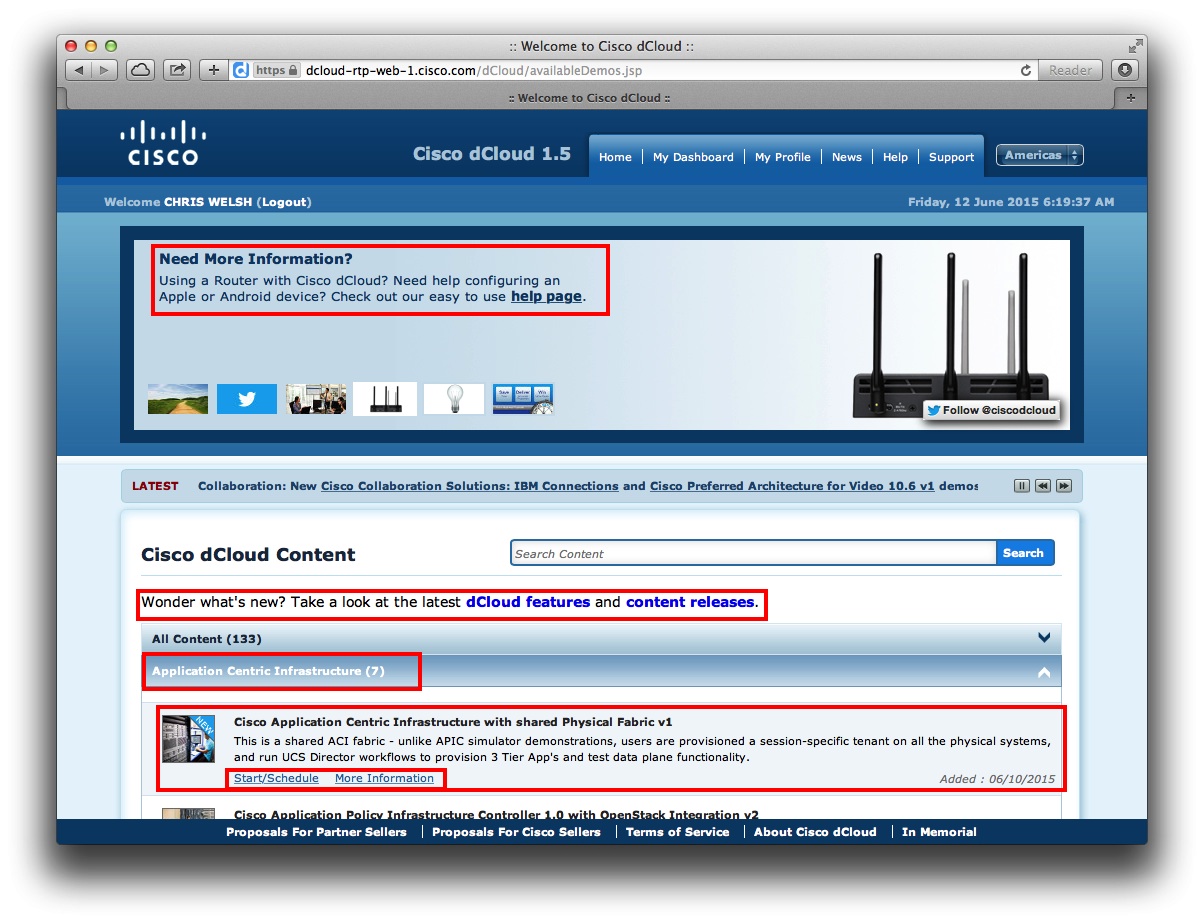
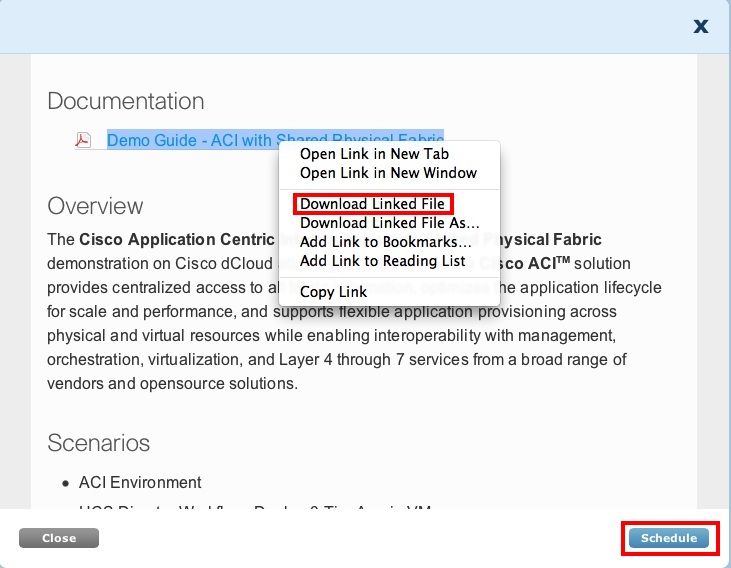
Once you hit the Home page, you might like to explore some of the training videos, but for me I want to go straight to the new ACI lab, so I’m going to open the Application Centric Infrastructure section and click More Information, because that is where I’ll download the pdf guide to the lab, and also find a Schedule option there anyway.
By default, your schedule will start at the next quarter hour time slot, but you can click Now is you are impatient. I was! And you can book the lab continuously for up to five days,

You’ll need to fill in some details about why you want the lab, and you session will begin. It will take up to 15 minutes for the lab to prepare, because what is now happening is that the ACI simulator and a whole swag of Virtual Machines are being loaded up for your use. [Edit: this particular lab doesn’t use the simulator – it gives you access to real ACI kit with your own login]
Now while this is happening, it’s worth thing a little about what Cisco is doing in the background to make this happen. If you are reading this, then you probably have some knowledge of SDN and Orchestration – and you are now watching it in action.
Once your session is ready, your dashboard will change to:

Now the first thing you will need to do is View your demo, and when you do, you will see a topology with a glowing workstation inviting you to click it! But I want to draw your attention to a couple of other sections on this screen before you launch into your lab:

Check out the Documentation, Session Details, and the Servers sections under your Topology section. Get used to working your way around these because later I’ll refer you to the Session Details section later.
Note: |
Note the time remaining – if you actually manage to schedule more than five days, don’t believe it. Your session WILL end exactly five days later, even if you see that there are three hours to go. |
But now it’s time to launch the lab. The lab is conducted via a “Jump Box” – a session to a remote PC, and clicking on the Wkstn1 icon and selecting the Remote Desktop option. Note there are options to Power Off and Reboot the remote PC if you should get trouble.
However, the first thing you will probably want to do after launching the remote desktop is to expand the window that opens into full screen mode – some of those ACI configuration screens need a LOT of real-estate.
And this will lead you to your first problem: The screen doesn’t actually go full size – but not to worry, there is a solution (unless you still went ahead and used Internet Explorer in spite of my earlier warning).
After you have maximised your desktop, click in the grey area to the side of the login screen and choose Reload Page.

Your session will now be in full screen. Log in using the user credentials given (dcloud\demouser password C1sco12345) and begin your lab. You did download the pdf of the lab earlier didn’t you? If not, you can go back to your home page and click on the documentation section. You’ll need it to find out the login details.
I’ll leave you to enjoy the lab yourself, but before I finish, I want to suggest that running a remote desktop session in a web browser may not give you the best user experience you can get from this site.
A better way to get to the remote desktop is to use Cisco AnyConnect. You can do this one of two ways.
The better way is to download and install the Cisco AnyConnect Client, but a good alternative is to use a SSL connection via your web browser. In either case, you’ll have to return to your dcloud Home page and select the Remote Session section to get the login details you’ll need to make the connection. This is also the place where you’ll find the link to the SSL login as well.

Note that you can share your login with up to 15 other users, each user has the same password, but a slightly different username of the form vNNNuser1..vNNNuser16
If you choose to use the web based SSL connection, you’ll have to have the latest versions of Java and the wind will need to be in the right direction and the gods smiling upon you. For me, the easier option is to install the VPN Client.
Once your connection is established, all you need to do now is open your Windows Remote Desktop client, and connect to the ip address shown next to yoru remote desktop in your Topology section.

Once you have saved your credentials and favourite screen settings in your Remote Desktop Client, accessing dcloud is a breeze forevermore!

But it doesn’t necessarily stop there. I find I get the best performance via the RDP connection using my own RDP client and my own Cisco AnyConnect client, but there is yet another way.
Look at the IP address that you see when you access the AIPC in the remote lab:

So long as you are connected via your AnyConnect connection, and you have the password, you can log into this address on your own local browser. I actually find this less satisfactory than the RDP session, but it might suit you. And I find Chrome more reliable than Safari.
 [Update: 2015-06-30]
Once you have logged into your lab, you might find it tedious swapping to and from your remote session to read the lab guide that you downloaded earlier – especially if you are operating in a full-screen remote desktop session.
So if this bothers you, open a browser in your remote session, and browse to https://dcould.cisco.com and log in again in the remote session – and then you can download the .pdf of your lab instructions to your remote PC and keep it all in one place.
[End of update: 2015-06-30]
Enjoy your lab!
RedNectar
Note: This is the first of a few articles I’m writing that relate to ACI. Watch this space for a a multi-stage tutorial on ACI

Pingback: Cisco ACI Tutorial – A Configuration Guide | RedNectar's Blog
For me is more practice to use firefox than Chrome, firefox has significant performance
You should get into teaching Chris – really clear info & directions.
Thanks a Lot Chris this is a great Post!!!
Nice work Chris!